When it comes to indoor greenery, the ZZ plant stands out as a low-maintenance favorite. Its ability to thrive in low light makes it a popular choice for homes and offices alike. Native to Eastern Africa, this tropical beauty has evolved to store water in its roots, stems, and leaves, making it highly drought-tolerant.
Understanding its unique needs is essential for keeping it healthy. While it can survive for months without water, overwatering can lead to root rot. This is why a tailored approach to care is crucial. Factors like seasonal changes, soil type, and observation play a key role in maintaining its vitality.
By balancing neglect and attention, you can ensure your ZZ plant thrives in any environment. Its air-purifying qualities and striking appearance make it a worthwhile addition to any space.
Key Takeaways
- The ZZ plant is highly adaptable to low light conditions.
- It stores water in its roots, stems, and leaves, making it drought-tolerant.
- Overwatering can harm the plant, so a tailored watering approach is essential.
- Seasonal changes and soil composition impact its care needs.
- Observation is key to maintaining its health and longevity.
Introduction to ZZ Plants and Their Unique Needs
Zamioculcas zamiifolia, commonly known as the ZZ plant, is a resilient houseplant with unique characteristics. Its ability to thrive in challenging environments makes it a popular choice for both beginners and experienced gardeners. Native to Eastern Africa, this species has evolved to survive in arid conditions, making it a standout in the world of indoor greenery.
What Makes ZZ Plants Special?
One of the most fascinating aspects of Zamioculcas zamiifolia is its evolutionary adaptations. Its rhizomatous roots and waxy cuticles allow it to store water efficiently, ensuring survival during dry spells. The leaves, which contain 91% water, play a crucial role in moisture retention, giving the plant its glossy appearance.
Additionally, this species is known for its air-purifying capabilities. It effectively removes toxins like xylene and toluene from the air, contributing to a healthier indoor environment. This makes it not just a decorative piece but also a functional addition to any space.
Why Watering is Crucial for ZZ Plants
While Zamioculcas zamiifolia is drought-tolerant, proper watering is essential for its growth and longevity. The tuber system, which stores water in potato-like structures, can be easily damaged by overwatering. This often leads to root rot, a common issue for inexperienced gardeners.
On the other hand, underwatering can cause the leaves to yellow and drop. Striking the right balance is key. Unlike other succulents, this species requires a more tailored approach to plant care, especially when grown indoors.
Understanding its natural habitat—Eastern African riverbanks—can provide valuable insights. Mimicking these conditions, such as allowing the soil to dry out between waterings, can help maintain its health. By observing the stems and roots, you can ensure your ZZ plant thrives for years to come.
Understanding ZZ Plant Watering Requirements
Mastering the care of this resilient species starts with understanding its unique watering needs. Proper hydration is essential, but the key lies in the soil and its ability to drain excess moisture. Without the right conditions, even the hardiest species can struggle.
Soil and Drainage Essentials
The right soil mix is crucial for this species. A blend of 30% perlite and 20% orchid bark ensures proper aeration and drainage. These components prevent water from pooling around the roots, which can lead to rot.
Always choose a container with adequate drainage holes. Decorative pots without holes may look appealing but can trap water, harming the plant roots. For optimal results, use a well-draining potting mix and a functional container.
How ZZ Plants Store Water
This species has evolved to store water in its underground tubers. These structures act like reservoirs, allowing it to survive long periods without hydration. The roots absorb moisture through capillary action, distributing it to the stems and leaves.
Repotting every 3-4 years ensures the tubers have enough space to grow. During this process, inspect the roots for signs of rot or overcrowding. A healthy root system is vital for its survival.
| Soil Component | Percentage | Purpose |
|---|---|---|
| Perlite | 30% | Improves aeration and drainage |
| Orchid Bark | 20% | Enhances soil structure |
| Potting Mix | 50% | Provides essential nutrients |
How to Determine When Your ZZ Plant Needs Water
Recognizing the right time to water can make all the difference. Proper hydration ensures your greenery stays healthy and vibrant. To achieve this, you need to assess both the soil and the physical condition of the leaf and stems.
Assessing Soil Moisture
Checking the soil dry level is the first step. Insert your finger about 2 inches deep into the soil. If it feels dry, it’s time to water. Alternatively, use a moisture meter for more accuracy. Both methods help you avoid over or under-hydrating your greenery.
Seasonal changes affect how quickly the soil dries. In warmer months, you may need to check more frequently. During colder weeks, the soil retains moisture longer. Adjust your routine accordingly.
Observing Leaf and Stem Condition
Your greenery often gives visual cues when it’s thirsty. Look for leaf curling, shriveling, or color fading. These signs indicate it’s time to hydrate. Healthy stems should feel firm, not soft or wrinkled.
Juvenile greenery may show different symptoms compared to mature ones. Younger plants might wilt faster, while older ones can tolerate longer dry spells. Always observe carefully to meet their specific needs.
In emergencies, like after a 6-week drought, rehydrate slowly. Gradually increase moisture to avoid shocking the roots. Tools like wooden chopsticks or hygrometers can help monitor progress.
Effective Watering Techniques for ZZ Plants

Choosing the right watering method can significantly impact growth. Proper hydration ensures your greenery stays healthy and vibrant. Let’s explore three effective techniques to keep your greenery thriving.
Watering Over the Soil
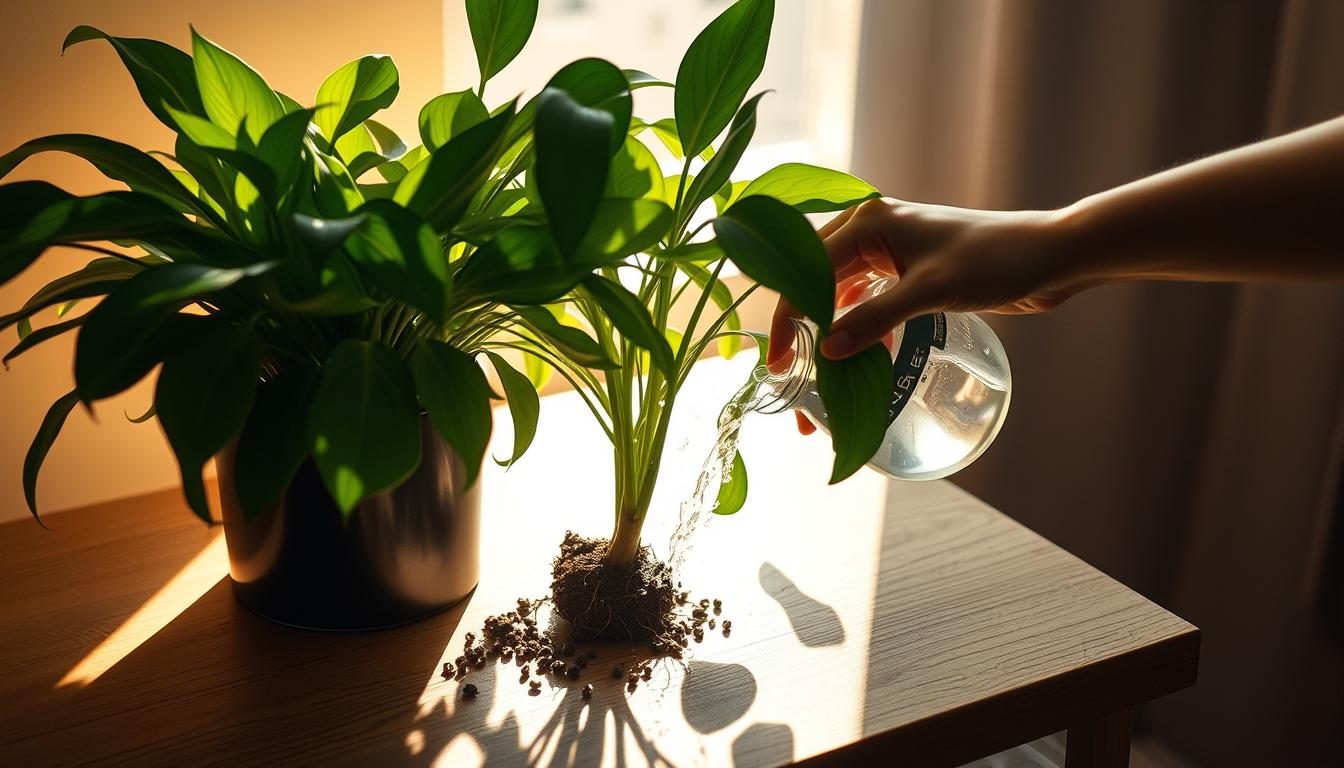
Top watering is the most common way to hydrate your greenery. Pour water directly onto the soil until it flows out of the drainage holes. This ensures the roots absorb moisture evenly.
Use a long-spout can to avoid wetting the leaves. Excess moisture on the foliage can lead to fungal issues. Always empty the saucer after watering to prevent root rot.
Bottom Watering Method
Bottom watering is ideal for ensuring deep hydration. Place the pot in a tray filled with water for 10-20 minutes. The soil absorbs moisture through the drainage holes, reaching the roots directly.
This method is especially useful for compacted soil. It encourages roots to grow downward, promoting a healthier system. After soaking, remove the pot and let excess water drain.
When to Use the Bath Watering Technique
The bath method is reserved for severely dry greenery. Submerge the pot in a basin of water for 10-15 minutes. This rehydrates the soil thoroughly, especially after long dry spells.
After the bath, let the pot drain completely. Avoid using this technique too often, as it can lead to overhydration. Monitor the soil moisture for the next few weeks to adjust your routine.
| Technique | Duration | Best For |
|---|---|---|
| Top Watering | Until drainage flows | Regular hydration |
| Bottom Watering | 10-20 minutes | Deep hydration |
| Bath Method | 10-15 minutes | Severely dry soil |
Each method has its benefits. Choose the one that suits your greenery’s needs. Proper hydration ensures long-term health and vitality.
Using Self-Watering Pots for ZZ Plants
Self-watering pots are a game-changer for maintaining consistent moisture levels. These innovative containers simplify care by providing a steady supply of water, making them ideal for busy individuals or those new to gardening. They are especially useful in maintaining optimal humidity levels, ensuring your greenery thrives even in challenging conditions.
Benefits of Self-Watering Pots
One of the main advantages of self-watering pots is their ability to prevent over or under-hydration. The reservoir system ensures the soil absorbs only the necessary amount of water, reducing the risk of root rot. Additionally, these containers are perfect for maintaining consistent moisture, which is crucial for healthy growth.
Another benefit is their efficiency in delivering nutrients. When combined with compatible fertilizer, the wicking system ensures your greenery receives essential nourishment over time. This makes them a practical choice for long-term care.
How to Use Them Effectively
To get the most out of self-watering pots, start by choosing a high-quality reservoir system. Ensure the wicking mechanism is properly installed to avoid oversaturation. Regularly check the water level in the reservoir, especially during warmer months, to maintain consistent hydration.
Monthly maintenance is key. Clean the reservoir to prevent mineral buildup, which can affect water flow. Adjust the watering frequency based on the season and the specific needs of your greenery. With proper care, self-watering pots can significantly enhance the health and longevity of your plants.
Seasonal Watering Adjustments for ZZ Plants
Adapting your care routine to the changing seasons ensures your greenery thrives year-round. Each season brings unique challenges and opportunities for growth, making it essential to adjust your approach. By understanding these changes, you can maintain a healthy and vibrant indoor environment.
Watering in Spring and Summer
During spring summer, increased sunlight and warmer temperatures accelerate photosynthesis. This means your greenery will require more frequent hydration. I recommend watering every 2-3 weeks, depending on the humidity levels in your home. Monitoring the soil moisture is crucial to avoid overhydration.
Artificial lighting and HVAC systems can also impact frequency. If your home relies heavily on air conditioning, the soil may dry out faster. Keep an eye on new growth patterns, as they indicate how well your greenery is adapting to the season.
Watering in Fall and Winter
As temperatures drop in winter, your greenery enters a dormancy period. This reduces its need for water, so I suggest watering every 4-6 weeks. Overwatering during this time can lead to root rot, so always check the soil before hydrating.
Seasonal changes also affect photosynthesis rates. With shorter days and less natural light, your greenery’s growth slows down. Adjust your care routine accordingly, and consider using a humidifier to counteract the dry air from heating systems. For more detailed tips, check out this comprehensive guide.
How Often to Water Your ZZ Plant in Low Light
Maintaining greenery in dimly lit spaces requires careful attention to hydration needs. In environments with minimal natural light, the watering frequency must be adjusted to prevent over or under-hydration. Understanding the specific conditions of your space is key to ensuring your greenery thrives.
Factors Affecting Watering Frequency
Several elements influence how often you should water in low light. The type of lighting, such as LED or fluorescent, can impact the time between waterings. For example, LED lights may dry out the soil faster than fluorescent ones.
Other factors include the direction of window exposure and the size of the container. North-facing windows receive less light, which means the soil stays moist longer. In contrast, east-facing windows may require more frequent hydration.
Creating a Consistent Schedule
To establish a reliable routine, start by checking the soil every 3-4 weeks. Insert your finger about 2 inches deep—if it feels dry, it’s time to water. Avoid relying solely on a calendar, as this can lead to overwatering.
Consider using a 6-month tracking template to monitor changes in soil moisture and adjust your schedule accordingly. This approach helps you adapt to seasonal shifts and ensures your greenery receives the right amount of hydration.
| Factor | Impact on Watering |
|---|---|
| Light Type | LED dries soil faster than fluorescent |
| Window Direction | North-facing requires less frequent watering |
| Container Size | Larger pots retain moisture longer |
Common Watering Mistakes and How to Avoid Them

Proper hydration is essential, but common mistakes can harm your greenery. Overwatering and underwatering are the two most frequent issues that gardeners face. Both can lead to serious problems like root rot or leaf damage. By understanding the signs and solutions, you can keep your greenery healthy and thriving.
Overwatering: Signs and Solutions
Overwatering is a common mistake that can cause root rot. Signs include yellow leaves and mushy stems. If caught early, you can save your greenery by reducing the watering frequency and improving drainage. For severe cases, root surgery may be necessary. Here’s a step-by-step guide:
- Remove the greenery from its pot and inspect the roots.
- Trim any black or mushy roots with sterilized scissors.
- Repot in fresh, well-draining soil and water sparingly.
Recovery success rates are higher when caught early. Emergency repotting supplies like new soil, pots, and scissors are essential for quick action.
Underwatering: Signs and Solutions
Underwatering can cause crispy leaves and wrinkled stems. To fix this, gradually increase hydration without shocking the roots. Use tools like moisture meters to monitor progress. Here’s a comparison of symptoms:
| Issue | Signs | Solution |
|---|---|---|
| Overwatering | Yellow leaves, mushy stems | Reduce watering, improve drainage |
| Underwatering | Crispy leaves, wrinkled stems | Gradually increase hydration |
Gnat infestations are often linked to overwatering. Quarantine affected greenery to prevent spreading. Rehabilitation timelines vary, but consistent care ensures recovery.
By diagnosing and addressing these issues early, you can maintain a healthy environment for your greenery. Remember, observation and tailored care are key to avoiding common watering mistakes.
Best Practices for ZZ Plant Watering
Effective plant care begins with the right tools and consistent monitoring. By focusing on these two aspects, you can ensure your greenery thrives in any environment. Let’s explore the essentials for maintaining optimal hydration and health.
Choosing the Right Watering Tools
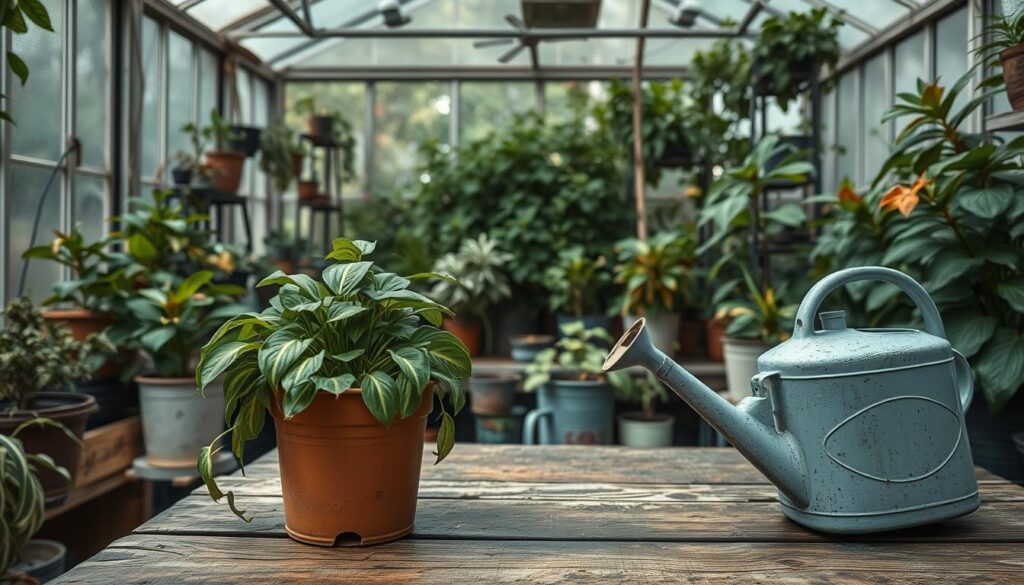
Selecting the proper tools is the first step in effective gardening. A long-spout watering can helps deliver water directly to the soil, avoiding foliage. Moisture meters are invaluable for checking soil levels, ensuring you hydrate only when necessary.
Self-watering pots are another excellent option, especially for busy individuals. They provide a steady supply of water, reducing the risk of over or under-hydration. Always choose tools that align with your specific needs and environment.
Monitoring Plant Health Regularly
Regular health checks are crucial for long-term plant care. Inspect the leaves and stems weekly for signs of stress, such as yellowing or wilting. This routine helps you catch issues early and adjust your care routine accordingly.
Using a maintenance checklist can streamline this process. Include tasks like checking soil moisture, inspecting for pests, and assessing nutrients. Logging apps can also help track changes over time, providing valuable insights into your greenery’s needs.
Professional growers recommend inspecting the root system every few months. Healthy roots are firm and white, while unhealthy ones may appear mushy or discolored. Addressing root issues promptly ensures your greenery remains vibrant.
By combining the right tools with consistent monitoring, you can master the way you care for your greenery. This approach not only promotes growth but also prevents common mistakes, ensuring your plants thrive year-round.
Additional Tips for ZZ Plant Care in Low Light

Caring for greenery in low-light environments requires thoughtful adjustments to ensure vitality. While these species are adaptable, their needs vary based on light, temperature, and soil conditions. By optimizing these factors, you can create a thriving indoor space.
Light and Temperature Considerations
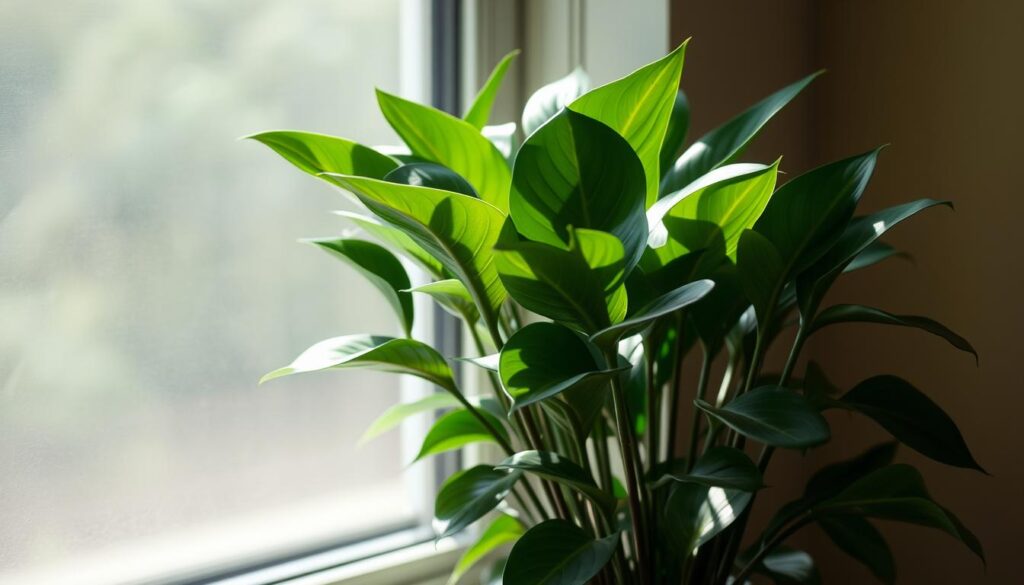
Positioning your greenery near northeast or west-facing windows provides indirect light, which is ideal for low-light conditions. If natural light is limited, consider using LED grow lights to supplement. These mimic sunlight and support photosynthesis.
Maintaining a consistent temperature between 60-80°F is crucial. Avoid placing greenery near drafts or heating vents, as sudden changes can stress the system. Seasonal repositioning ensures it receives adequate light throughout the year.
Soil and Fertilizer Tips
The right soil mix is essential for drainage and nutrient retention. A blend of perlite, orchid bark, and potting soil works well. This combination prevents waterlogging and promotes healthy root growth.
Fertilize twice a year with a diluted solution to avoid nutrient buildup. DIY fertilizer recipes, like compost tea, can also enhance growth. Regularly clean the leaves to remove dust and improve photosynthesis.
- Optimize artificial light setups for consistent growth.
- Reposition greenery seasonally to maximize light exposure.
- Use a well-draining soil mix to prevent root issues.
- Create DIY fertilizer solutions for natural nourishment.
- Integrate greenery into your home decor for aesthetic appeal.
- Avoid common placement errors like overcrowding or blocking light sources.
By following these tips, you can ensure your greenery thrives even in low-light conditions. Regular monitoring and adjustments will keep it healthy and vibrant throughout the months.
Troubleshooting Watering Issues
Addressing hydration problems early can save your greenery from long-term damage. Proper care involves identifying and resolving issues like root rot and yellowing leaves. By understanding the signs and solutions, you can maintain a healthy environment for your greenery.
Identifying Root Rot
Root rot is a common issue caused by overhydration. Signs include mushy roots and a foul odor. To treat it, remove the greenery from its pot and inspect the roots. Trim any black or mushy parts with sterilized scissors. Repot in fresh, well-draining soil to prevent recurrence.
Fungal and bacterial rot can look similar, but fungal rot often has a musty smell. Bacterial rot may produce a slimy texture. An emergency treatment kit with scissors, fresh soil, and antifungal solutions is essential for quick action.
Dealing with Yellowing Leaves
Yellow leaves often result from overwatering or shock. If the leaves are soft and yellow, reduce watering frequency. For crispy, yellow leaves, gradually increase hydration. Remove severely damaged leaves to redirect energy to healthy growth.
Quarantine affected greenery to prevent spreading issues like spider mites. Recovery timelines vary, but consistent care ensures success. Aftercare includes monitoring humidity levels and avoiding common misdiagnoses like nutrient deficiencies.
- Inspect roots regularly to catch rot early.
- Compare fungal and bacterial rot symptoms for accurate treatment.
- Create an emergency kit with essential tools and solutions.
- Excise damaged leaves carefully to promote recovery.
- Quarantine affected greenery to prevent spreading issues.
- Expect a recovery timeline of 4-6 weeks with proper care.
- Use antifungal solutions to treat fungal infections.
- Avoid misdiagnosing yellow leaves as nutrient deficiencies.
- Follow aftercare instructions to maintain long-term health.
Conclusion: Mastering ZZ Plant Watering in Low Light
Finding the right balance in caring for your greenery ensures long-term health and beauty. This guide emphasizes observation over rigid schedules, allowing you to adapt to your home environment. By focusing on the conditions of your space, you can create a tailored approach that works best for your greenery.
Gradual adjustments are key. Start by monitoring soil moisture and the appearance of leaves. This way, you can address issues before they escalate. Over time, you’ll develop a natural rhythm that supports healthy growth.
For those new to gardening, resources like downloadable care calendars or expert consultations can be invaluable. Remember, the 10% rule: make small changes and observe their impact. This ensures steady progress without overwhelming your greenery.
By mastering these principles, you’ll enjoy the long-term benefits of a thriving indoor space. Start today and watch your greenery flourish.
