As the days get shorter and the air gets crisp, I love the warm colors of autumn. Making a fall leaf garland DIY project lets me bring the season’s beauty into my home. It’s magical to turn natural leaves into a beautiful decoration that shows off nature and my creativity.
This garland not only makes my home look better but also reminds me of fall’s simple joys. In the next parts, I’ll show you how to do this project. It’s fun for anyone, whether you’re good at crafting or just starting.
Key Takeaways
- Embrace the beauty of autumn with a personalized fall leaf garland.
- Gather natural leaves to enhance your seasonal home decor.
- Follow simple steps to create a rewarding DIY project.
- Infuse your crafting experience with personal touches.
- Enjoy the process of transforming nature into décor.
The Inspiration Behind My Fall Leaf Garland
Creating a fall leaf garland was a journey filled with the vibrant colors of autumn. The oranges, yellows, and reds warmed my home and brought back memories. It’s a way to celebrate nature’s beauty and the feelings of fall.
Why I Chose A Fall Theme
Choosing a fall theme let me add the beauty of changing leaves to my decor. It’s perfect for cozy firesides and family dinners. My garland makes my home feel welcoming for autumn gatherings.
Personal Touches to Make It Unique
I added personal touches to make my garland special. I picked leaves with memories attached to them. By choosing colors that mean something to my family, I made a garland that tells our fall stories.
Working on this garland, I mixed colors and memories. It’s a celebration of fall, reminding me of our special moments.
Materials Needed for My DIY Garland
Making a fall leaf garland means picking the right materials. Knowing what you need makes crafting fun. I chose natural items that show off the season’s beauty. I also added special touches for a unique look.
Essential Supplies for Crafting
My project started with a few important items. Here’s what I found necessary:
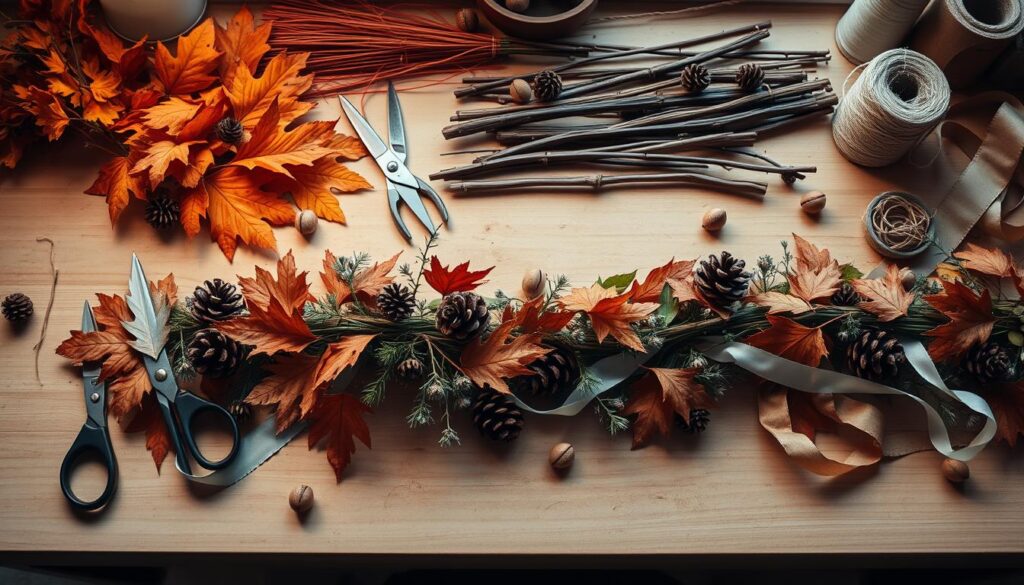
- Natural leaves: It’s key to have different colored leaves from trees.
- String or twine: A strong string or twine is needed for hanging.
- Scissors: You’ll need scissors to cut and shape your materials.
- Adhesive: A good adhesive keeps the leaves in place for a long time.
Optional Enhancements for Adding Flair
To make my garland special, I thought about adding some extra touches. Here are a few ideas:
- Faux berries: They bring a bright color and contrast.
- Mini pumpkins: Small pumpkins add a fun, festive vibe.
- Seasonal ribbons: Ribbons add texture and charm to the display.
Preparing the Leaves for My Garland
Starting my fall leaf garland involves key steps. First, I gather leaves outdoors. I love visiting parks and gardens in autumn to pick out vibrant leaves. Each leaf adds to the garland’s beauty.
Gathering Natural Leaves from the Outdoors
I search for fresh leaves in autumn colors like red, orange, and yellow. I look under trees and along paths where leaves fall. It’s important to pick leaves that are fresh and not damaged.
Pressing and Drying Techniques
After picking leaves, I dry them to keep their colors and shapes. I use a book press to flatten them for a week. Or, I microwave them between paper towels for a quicker dry.
For more on drying leaves, check out this guide on drying leaves. It offers tips to improve your crafting.
Crafting the Base of My Garland
Making a strong and pretty base is key for my fall leaf garland. I carefully pick twine for DIY projects that holds the leaves well and matches their colors. The type of string or twine affects the garland’s strength and look.
Choosing the Right String or Twine
When picking materials for the crafting base for garland, I look for both strength and beauty. Natural twine, like jute, adds a rustic touch and lasts long. Colorful twines can also make the garland look better. I choose a thickness that holds the leaves but doesn’t ruin the look.
How to Measure and Cut for Length
Getting the string for garland right is important. I measure the spot for the garland, adding extra for knots and a nice hang. Then, I cut the twine to the right length, double-checking my measurements. This step makes sure my garland looks great and stays in shape.

Assembling My Fall Leaf Garland
When I start making my fall leaf garland, securing leaves is key. It keeps them looking good and adds to the beauty. I start by leaving about three inches from the wire’s end. This gives me room for any last-minute changes.
Techniques for Securing the Leaves
Using a hot glue gun is a top choice for me. I apply glue at the leaves’ bottom edge and stick them to the wire. Wrapping the leaves around the wire makes sure they stay in place. On hot days, I use finger protectors to avoid burns from the glue.
For a more natural look, I sometimes tie leaves with thin twine. This adds a rustic touch.
Creative Arrangements to Consider
I love mixing leaf colors and shapes to make my garland pop. Changing up the leaf designs or creating patterns makes it more interesting. Sometimes, I get ideas from nature or the season’s colors.
These tips have made crafting more fun for me. I get to try out new combinations. For more help on making your garland, check out this guide.
Adding Decorative Elements to My Garland
To make my fall leaf garland stand out, I add decorations. Adding decorations to garland turns a simple project into a stunning centerpiece. I use faux flowers, acorns, or mini pumpkins to bring life and character to my design.
These additions create a vibrant scene that captures the essence of autumn. It’s a way to make my garland truly special.
Incorporating Other Fall Decorations
Adding elements like faux berries or gourds elevates my garland’s appeal. These components add color and fit the fall decor enhancements theme. The mix of textures and shapes adds depth, inviting guests to notice the details.
Using Glitter or Paint for Extra Sparkle
For a final touch, I use glitter or paint on leaves and decorations. A light dusting of glitter adds a magical sparkle for autumn projects. It makes the garland shimmer in the light.
This not only enhances beauty but also grabs attention. Whether I choose a subtle metallic sheen or vibrant colors, these embellishments make my garland come alive.
Displaying My Completed Garland
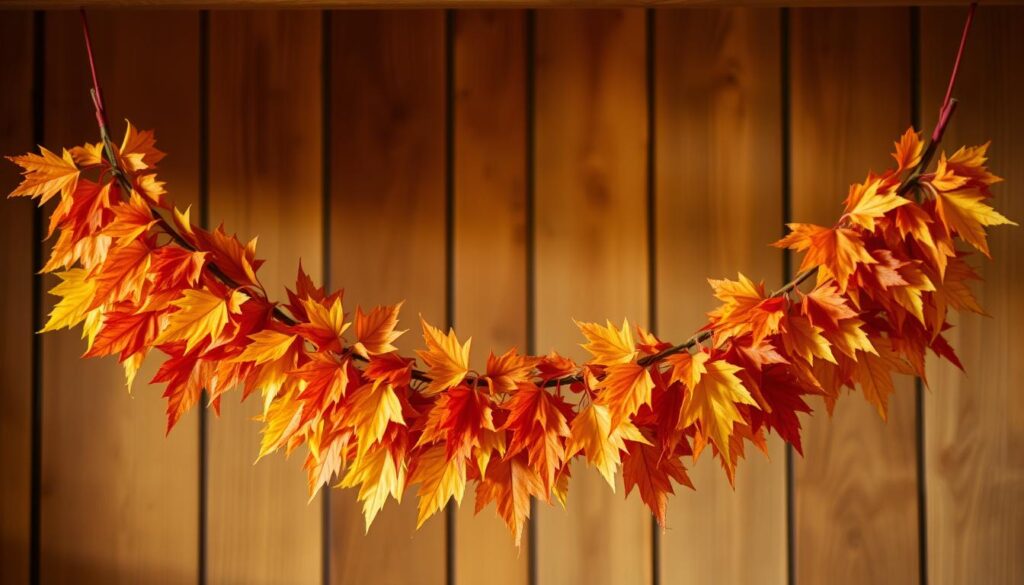
After making my beautiful fall leaf garland, it’s key to show it off in my home. The right spot can make it stand out, becoming a highlight of my decor. Here are some great places to display your autumn decor.
Ideal Locations Around My Home
- Over Door Frames: Hanging the garland over door frames makes my entrance warm and inviting.
- On Mantels: Placing the garland on the mantelpiece brings warmth to my living room, matching candles and fall items.
- Along Stair Railings: Draping the garland on stair railings adds elegance, looking great with twinkling lights.
Seasonal Themes to Complement It
Matching my fall leaf garland with seasonal decor themes makes it blend well. Themes like rustic charm or woodland magic show off the garland’s natural beauty. Adding decor like mini pumpkins or pinecones next to the garland boosts the look. It brings autumn’s spirit into my home.
Maintenance Tips for My Fall Leaf Garland
Keeping my fall leaf garland looking good is key. It helps my autumn decor stay vibrant. I use strategies to keep the leaves fresh and the decor looking great.
Preserving Natural Leaves for Longevity
To keep my leaves looking fresh, I use a few methods:
- Air Drying: I lay the leaves flat in a dry, shaded spot for air to circulate.
- PVA Glue Coating: A thin layer of PVA glue seals in moisture and adds shine.
- Waxing: A thin wax layer prevents drying and keeps the leaves bright.
Cleaning and Storing After the Season
When autumn ends, I carefully take down the garland. Cleaning and storing it right lets me use it again next year:
- Gentle Dusting: I use a soft cloth or feather duster to clean the leaves gently.
- Storing in a Cool, Dry Place: I pack it in a strong box with tissue paper to protect the leaves. A cool spot keeps them in good shape.

| Method | Benefit |
|---|---|
| Air Drying | Prevents mold growth by removing moisture. |
| PVA Glue Coating | Seals and enhances color for long-lasting vibrancy. |
| Waxing | Adds a protective layer against dryness. |
| Gentle Dusting | Maintains appearance and prevents buildup. |
| Storing in a Cool, Dry Place | Ensures longevity for future use. |
By following these tips, my fall leaf garland will last for years. It keeps my decor fresh and welcoming all autumn.
My Favorite Fall Decor Projects
As autumn’s cool air arrives, I dive into my favorite fall decor projects. Creating vibrant pumpkin centerpieces is a top choice. They turn any table into a cozy spot. I also enjoy making colorful wreaths and cozy throw pillow covers that feel like fall.
Changing my decor with the seasons is a fun challenge. It makes my home brighter and lifts my mood. I mix my pumpkin displays with handmade leaf garlands. This creates a welcoming space for everyone.
Every project I do reminds me of the joy of crafting. These fall decor projects show my love for the season. They make my home feel warm and inviting, making every moment inside special.

