
The ZZ plant has become a favorite among houseplants for its resilience and low-maintenance nature. Its glossy, dark green leaves add a touch of elegance to any home, making it a popular choice for indoor plants enthusiasts.
This plant thrives in low-light conditions, making it ideal for apartments with limited sunlight. Its unique rhizome system stores water, allowing it to withstand periods of drought. However, it’s essential to balance neglect with intentional care to ensure it flourishes.
While the ZZ plant is known for its air-purifying qualities, it’s important to note its toxicity. Contact with its sap can cause skin irritation, and it’s harmful if ingested by pets or children. Always handle it with caution.
Studies, including one by NASA, have shown that this plant can remove benzene from the air, enhancing indoor air quality. Its adaptability and aesthetic appeal make it a standout choice for any space.
Key Takeaways
- The ZZ plant is a low-maintenance, drought-tolerant houseplant.
- It thrives in low-light environments, perfect for apartments.
- Its rhizome system stores water, reducing the need for frequent watering.
- Handle with care due to its toxic sap, especially around pets and children.
- Known for air-purifying qualities, including benzene removal.
Introduction to the ZZ Plant
Zamioculcas zamiifolia, commonly known as the ZZ plant, has a rich botanical history. Belonging to the arum family, it shares a lineage with peace lilies. Native to Eastern Africa, this resilient species thrives in grasslands, riverbanks, and dry forests.
Its glossy leaflets and upright stems make it a striking addition to any space. The root system, composed of rhizomes, stores water, allowing it to survive in harsh conditions. This evolutionary trait ensures its survival in its natural habitat.
One fascinating aspect of the ZZ plant is its unique way of propagation. Fallen leaflets can develop into new plants, a rare method among houseplants. This adaptability has contributed to its popularity over the past two decades.
“The ZZ plant’s resemblance to ancient cycads adds a timeless appeal to modern interiors.”
Initially known as an office plant, it has now become a favorite in contemporary home design. Its low-maintenance nature and aesthetic appeal make it a versatile choice. I’ve personally observed its slow but steady new growth, which adds a sense of anticipation to its care.
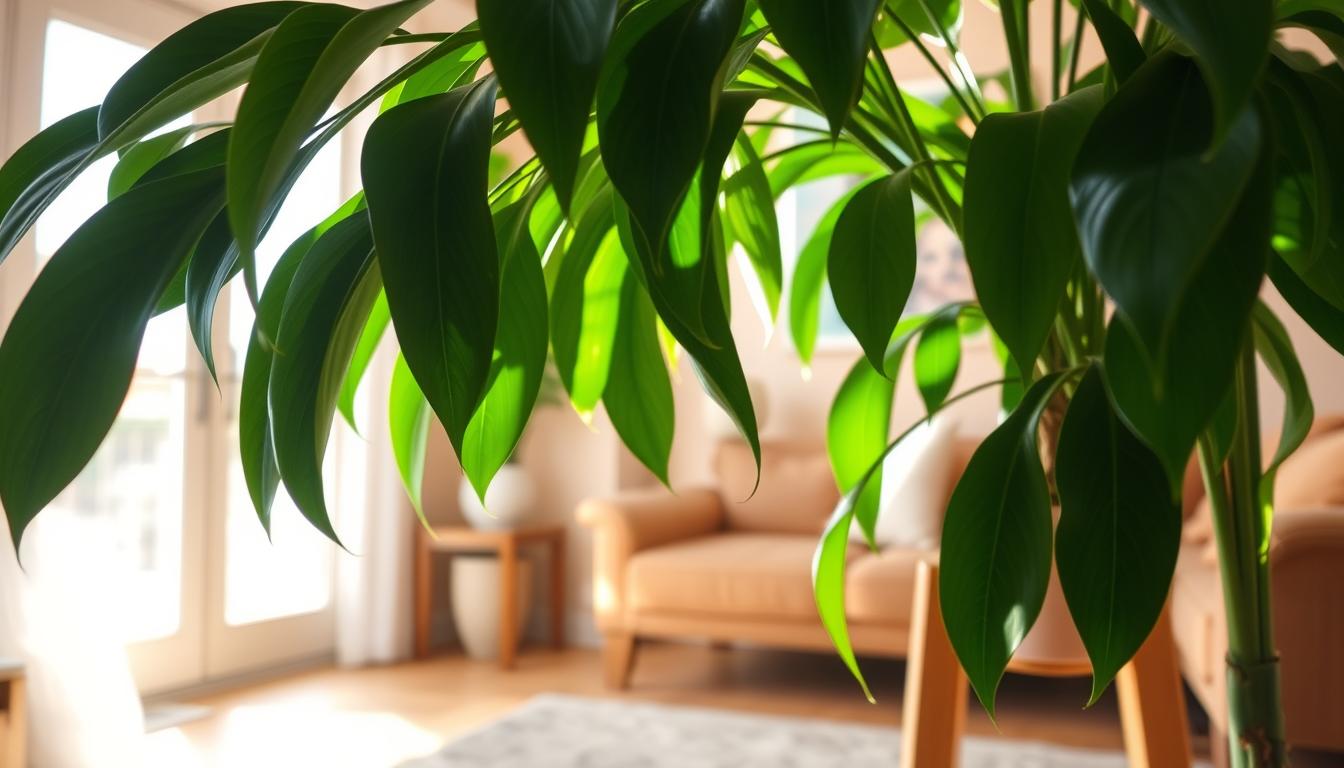
How to Care for ZZ Plant Indoors: Light Requirements
 against a clean, minimalist background. The plant is placed on a wooden shelf, bathed in soft, natural lighting from a nearby window. The leaves of the ZZ plant are lush and glossy, reflecting the ideal light conditions required for its healthy growth. The overall scene conveys a sense of serenity and balance, highlighting the plant's low-maintenance nature and suitability for indoor environments with moderate lighting.")
Proper lighting plays a crucial role in maintaining the plant’s vibrant appearance. This species adapts well to various light conditions, from bright indirect light to low light environments. However, finding the right balance ensures optimal growth and prevents common issues.
Optimal Light Conditions
Bright indirect light is ideal for this species. Placing it near a north-facing window provides consistent, filtered light. For low light areas, such as windowless rooms, it can still thrive under fluorescent lighting. I’ve found rotating it between the foyer and north-facing windows helps maintain even growth.
Avoiding Direct Sunlight
Direct sunlight can harm the plant, causing leaf scorch. South-facing windows, especially during afternoon hours, should be avoided. Using sheer curtains can diffuse harsh rays while still allowing ample light. This simple adjustment protects the foliage and maintains its glossy appearance.
| Light Condition | Impact | Recommendation |
|---|---|---|
| Bright Indirect Light | Promotes healthy growth | North-facing windows |
| Low Light | Tolerates well | Interior spaces or fluorescent lighting |
| Direct Sunlight | Causes leaf scorch | Use sheer curtains or avoid south-facing windows |
Signs of insufficient light include leggy stems and sparse foliage. If you notice these symptoms, consider moving the plant to a brighter room or supplementing with a grow light. Proper placement ensures it remains a stunning addition to your space.
Watering Your ZZ Plant

Maintaining the right moisture levels is key to keeping this resilient species healthy. Its unique rhizomes store water, allowing it to withstand dry spells. However, finding the right balance ensures it thrives without issues like yellowing leaves.
When to Water
Wait until the soil is completely dry before adding more water. I follow a three-week cadence, adjusting based on seasonal changes. During winter dormancy, reduce frequency, while summer growth may require more hydration.
Use the finger test or a moisture meter, like the Tennedriv model, to check dryness. Yellow leaves often signal overwatering, so monitor closely to avoid root rot.
Proper Watering Techniques
Bottom-watering is an effective method. Place the pot in a tray of water for 15-20 minutes, allowing the rhizomes to absorb moisture. Always empty the saucer afterward to prevent standing water.
Ensure proper drainage by using a well-draining potting mix. If overwatering occurs, let the soil dry completely and trim any damaged roots. This approach helps the plant recover quickly.
My personal routine involves watering every three weeks, observing the plant’s response. This method has kept my specimens healthy and vibrant.
Choosing the Right Soil
The foundation of any thriving houseplant lies in its soil mix. For this resilient species, a well-draining blend is crucial. I recommend combining cactus soil, perlite, and orchid bark. This mix ensures proper drainage while retaining essential nutrients.
Maintaining a slightly acidic to neutral pH (6.0-7.0) supports nutrient absorption. The rhizomes thrive in these conditions, promoting healthy growth. Over time, I’ve noticed that a balanced mix prevents issues like root rot and yellowing leaves.
Repotting frequency depends on the plant’s growth. While some prefer to keep their specimens slightly pot-bound, repotting every 2-3 years is ideal. Always check the root system during this process. Healthy roots are firm and white, while damaged ones should be trimmed.
Ensure your pot has adequate drainage holes. If not, layer the bottom with rocks or use a cache pot. This prevents waterlogging, a common issue with improper drainage. My experience with big-box store soil has been mixed, but adapting it with perlite has yielded excellent results.
For those seeking commercial options, brands like Miracle-Gro and Espoma offer reliable choices. These pre-mixed soils are convenient and tailored for indoor plants. Ultimately, the right soil ensures your houseplant thrives in any environment.
Temperature and Humidity

Maintaining the right environment is essential for this resilient species. The temperature and humidity levels in your home play a significant role in its health. Ideal conditions ensure steady growth and prevent stress-related issues.
Ideal Temperature Range
This species thrives in temperatures between 60-75°F. Avoid placing it near vents, doors, or heaters, as sudden changes can cause thermal shock. During winter, ensure it’s away from drafty windows to maintain consistent warmth.
Seasonal relocation can help. Move it to a warmer room during colder months. I’ve found that keeping it in a stable environment prevents stress and promotes healthy growth.
Managing Humidity
While this species tolerates low humidity, it benefits from occasional moisture. In dry winter months, use a humidifier or place it on a DIY humidity tray. A hygrometer can help monitor levels accurately.
Leaf cleaning is another effective method. Wiping the leaves with a damp cloth improves transpiration and removes dust. Avoid placing it near personal heaters, as they can dry out the air.
- Prevent thermal shock by avoiding vents and heaters.
- Relocate seasonally to maintain consistent warmth.
- Use a humidifier or DIY tray for added moisture.
- Clean leaves regularly for optimal health.
Additional Care Tips
Ensuring your houseplant thrives involves more than just basic maintenance. Beyond light and water, fertilizing and addressing common issues play a vital role in its health. These steps help maintain its glossy appearance and steady growth.
Fertilizing Your Houseplant
During spring and summer, feeding your plant promotes healthy development. Use a balanced fertilizer with an NPK ratio of 20-20-20. I prefer liquid fertilizers, as they are easier to control and apply. Dilute to half-strength to avoid overfeeding.
Granular fertilizers are another option, but they release nutrients slowly. Apply them sparingly to prevent root burn. Monthly feeding during the growing season ensures consistent nourishment.
Dealing with Common Issues
Leaf drop can signal either drought or overwatering. Check the soil moisture before adjusting your routine. If the leaves yellow, reduce watering frequency. For brown tips, increase humidity or relocate the plant away from drafts.
Dust accumulation on leaves can hinder photosynthesis. Wipe them gently with a damp cloth every few weeks. Avoid leaf shine products, as they can clog pores and harm the plant.
Propagation through division is simple and effective. Separate the rhizomes during repotting and plant them in fresh soil. This method encourages new growth and expands your collection.
Pests are rare but possible. Inspect the leaves regularly for signs of infestation. If detected, treat with neem oil or insecticidal soap. My experience has been largely pest-free, thanks to consistent monitoring.
Conclusion
Adding a resilient houseplant to your space brings both beauty and ease. The philosophy of “thrive on attentive neglect” perfectly suits this species, making it a low-maintenance yet rewarding addition to any home. Over months, you’ll witness steady new growth, a testament to its adaptability.
Remember, this plant is toxic if ingested, so place it thoughtfully away from pets and children. Its glossy leaves can enhance any room, adding a touch of peace and elegance. Sharing propagated cuttings with friends is a wonderful way to build community and spread greenery.
For novice owners, this species is an excellent starting point. My journey with it has been fulfilling, watching it thrive with minimal effort. Explore resources like gardening blogs or local nurseries to deepen your knowledge and confidence in care.