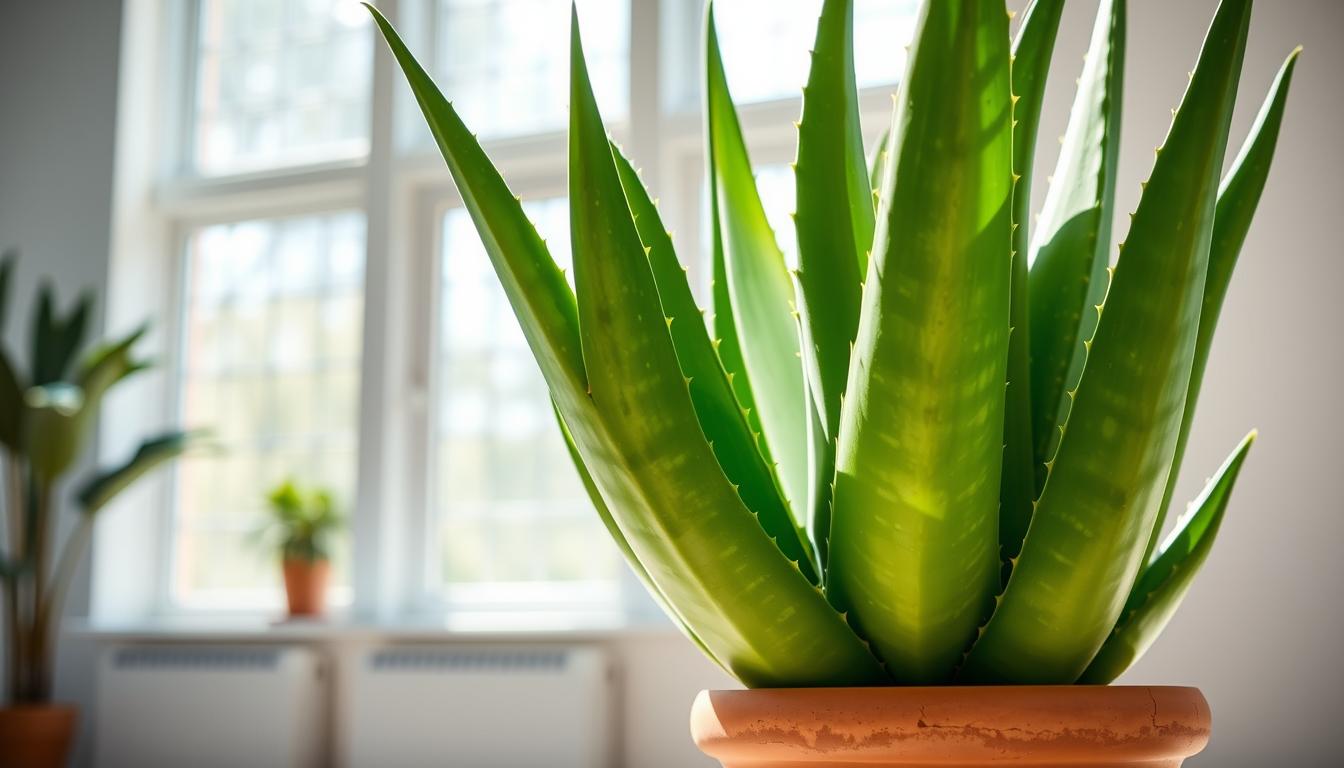
Growing an aloe vera plant is a rewarding experience, especially for beginners. Known for its healing properties, this versatile succulent is perfect for kitchens and bathrooms. Its gel is widely used in skincare and first aid, making it a practical addition to any home.
One of the best things about this plant is its low-maintenance nature. It thrives in bright, indirect light and requires infrequent watering. Overwatering is a common mistake, so it’s essential to let the soil dry out between sessions.
Whether you’re growing it indoors or outdoors, the aloe vera adapts well to different climates. In warmer regions, outdoor plants can grow up to 3 feet tall and 4 feet wide. Indoors, it remains compact, making it ideal for small spaces.
To ensure your plant stays healthy, focus on key care pillars: lighting, watering, soil, and propagation. With proper attention, you can enjoy its benefits for years to come.
Key Takeaways
- Aloe vera is a versatile succulent with medicinal and skincare benefits.
- It’s a low-maintenance plant, perfect for beginners.
- Thrives in bright, indirect light and requires infrequent watering.
- Adapts well to both indoor and outdoor environments.
- Proper care includes attention to lighting, watering, soil, and propagation.
Introduction to Aloe Vera Indoor Care
Bringing a touch of nature indoors, the aloe vera plant is a resilient houseplant. Its ability to adapt to indoor conditions makes it a popular choice for homes. With proper light and drainage, this plant thrives effortlessly.
Historically, the gel from the vera plant has been used for treating burns and skincare. Its soothing properties have made it a staple in many households. Today, it continues to be a practical and decorative addition to any space.
Seasonal adjustments are key to keeping your plant healthy. In winter, move it closer to windows to ensure it gets enough light. This simple step can prevent issues like brown tips, which often indicate dry air stress.
One of the unique aspects of this houseplant is its slow growth rate. Indoors, it can live up to 12 years, making it a long-term companion. Its compact size also makes it ideal for small spaces.
Integrating this plant into your home decor is easy. Place it in a stylish pot on a sunny windowsill or use it as a centerpiece in your living room. Its natural beauty adds a calming touch to any environment.
Choosing the Right Aloe Vera Plant
Selecting the perfect aloe vera plant is the first step to success. A healthy plant ensures long-term growth and vitality. When browsing at a nursery, look for firm, green leaves without discoloration or brown spots. Avoid plants with mushy leaves, as this often indicates overwatering or root rot.
One key feature to check is the presence of pups at the base. These small offshoots are a sign of a thriving plant and can be separated for propagation. Healthy roots are also crucial—gently inspect the root system to ensure it’s firm and not overly tangled.
When it comes to the pot, choose one that’s 4”-6” in diameter for starters. Overpotting can lead to water retention, which harms the plant. Repotting is best done in spring, when the plant is actively growing and can recover quickly.
Here are some popular varieties to consider:
- Aloe aristata: Known for its rosette shape and white speckles.
- Spiral aloe: A unique variety with leaves arranged in a spiral pattern.
By following these tips, you’ll set the foundation for a thriving aloe vera plant that enhances your home for years to come.
Optimal Lighting for Aloe Vera
Proper lighting is essential for keeping your plant healthy and vibrant. Without the right amount of light, it can struggle to thrive. Understanding how to position your plant and recognizing signs of insufficient light will ensure it stays in top condition.
Best Window Placement
For optimal growth, place your plant 2’-5’ from a south or west-facing window. These spots provide bright, indirect sun, which is ideal. Direct afternoon light can be too harsh and may cause leaf burn. Using sheer curtains can help diffuse the intensity while still letting in enough light.
Rotate your plant every 3-6 months to ensure even growth. This prevents one side from stretching toward the light source. In darker apartments, consider using a grow light to supplement natural light.
Signs of Insufficient Light
If your plant isn’t getting enough light, it will show clear symptoms. Pale leaves, folding stems, and slowed growth are common indicators. Leggy growth, where the plant stretches unnaturally, is another sign of low light.
To fix this, move your plant closer to a brighter spot or use a grow light. Seasonal adjustments are also important. In winter, position it closer to windows to maximize light exposure. During summer, ensure it’s not exposed to scorching midday sun.
Watering Your Aloe Vera Plant

Mastering the art of watering is crucial for keeping your plant thriving. Too much or too little water can lead to problems like root rot or dehydration. By understanding its needs, you can ensure your plant stays healthy and vibrant.
How Often to Water
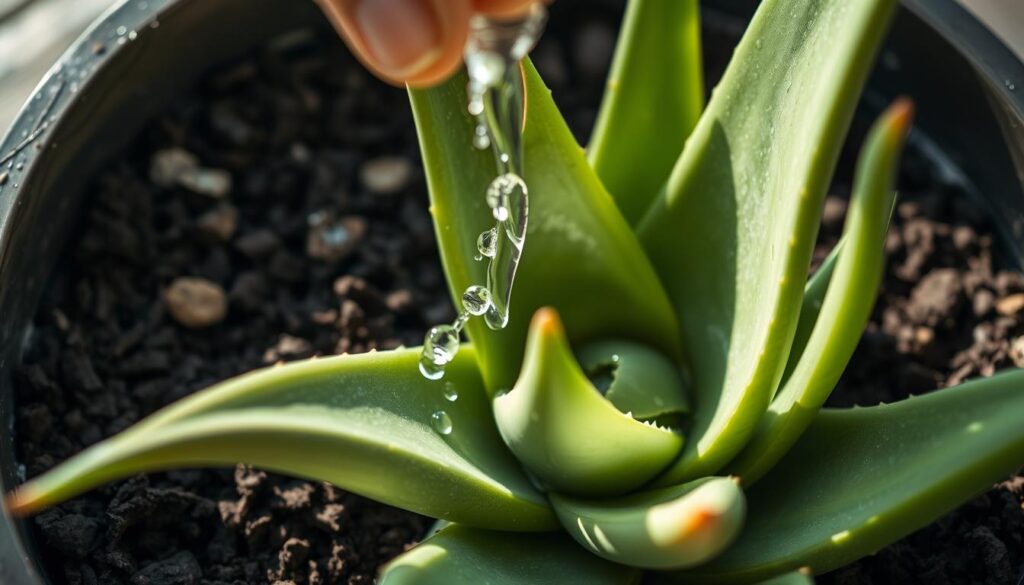
Use the “soak and dry” method for best results. Water thoroughly until it drains from the bottom, then let the soil dry completely before the next session. This prevents waterlogging and promotes healthy roots.
Here’s a seasonal guide:
- Summer: Water every 2-3 weeks.
- Winter: Reduce to once a month.
Pot material also matters. Terra cotta dries faster than plastic, so adjust your schedule accordingly.
Signs of Overwatering
Overwatering is a common issue. Look for translucent leaves, a foul odor, or crimped bases. These are clear indicators of too much water.
If your plant is waterlogged, act quickly. Remove it from the pot, trim damaged roots, and let it dry before repotting in fresh soil. This can save your plant from rot.
Soil and Potting Mix for Aloe Vera
The foundation of a healthy plant lies in its soil and pot. A well-draining mix ensures the roots stay healthy and prevents issues like root rot. Whether you choose a commercial blend or make your own, the right combination is key.
Choosing the Right Pot
Terra cotta pots are my top pick for this plant. They allow for better airflow and help the soil dry out faster. Ensure the pot has drainage holes to prevent water from pooling at the bottom.
When selecting a pot, consider the depth and width. A ratio of 1:1 works well for stability as the plant grows. Avoid oversized pots, as they can retain too much moisture and harm the roots.
DIY Succulent Soil Mix
Creating your own mix is simple and cost-effective. I recommend combining 50% succulent soil with 50% perlite for optimal drainage. Alternatively, try a 2:1:1 ratio of potting soil, sand, and perlite.
Here’s why I prefer DIY blends:
- They allow for better control over drainage and texture.
- Commercial mixes often contain too much organic matter, which can retain water.
- Adding a top dressing of lava rock enhances aesthetics and improves airflow.
Avoid using standard potting soil without amendments. It’s too dense and can lead to root rot. For a cactus-like plant, a well-draining mix is non-negotiable.
Temperature and Humidity Requirements

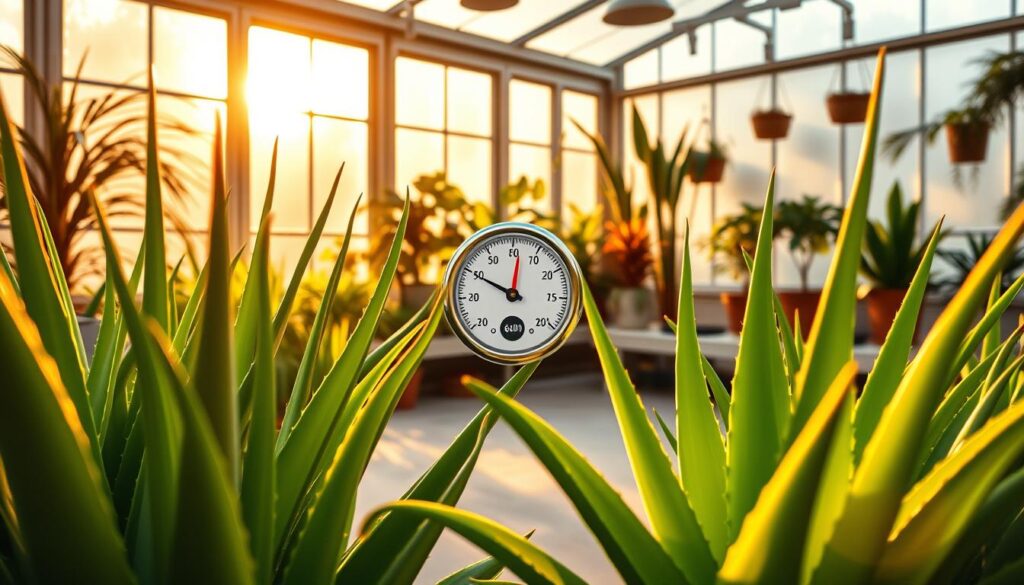
Maintaining the right environment is key to a thriving plant. This resilient houseplant thrives in temperatures between 55°F and 85°F. Extreme cold or heat can harm it, so avoid placing it near drafts or AC vents.
| Condition | Temperature Range | Effect on Plant |
|---|---|---|
| Ideal | 55°F – 85°F | Healthy growth |
| Too Cold | Below 50°F | Leaf damage |
| Too Hot | Above 90°F | Leaf burn |
In homes with forced-air heating, keep your plant away from vents. Dry air can cause leaf tip browning, which is normal in dry climates. This doesn’t harm the plant but can affect its appearance.
Unlike tropical plants, this houseplant doesn’t require high humidity. It’s naturally adapted to arid conditions, making it an easy addition to any home. If you notice dry tips, misting occasionally can help.
During summer, you can transition your plant outdoors. Start by placing it in a shaded area for a few hours daily. Gradually increase exposure to sunlight over a week. This prevents shock and ensures a smooth transition.
By following these tips, you’ll create the perfect environment for your plant to thrive. Whether indoors or outdoors, it’s a low-maintenance way to enjoy nature’s beauty.
Fertilizing Your Aloe Vera Plant
Feeding your plant the right nutrients ensures its long-term health and vitality. While it’s a low-maintenance succulent, occasional fertilizing can boost growth and keep it thriving. The key is to provide nutrients without overdoing it, as too much can harm the plant.
Organic vs. Synthetic Fertilizers
When it comes to plant care, you have two main options: organic and synthetic fertilizers. Organic choices like worm compost or compost tea are gentle and enrich the soil over time. Synthetic options, such as Maxsea or fish emulsion, provide quick nutrients but should be used at half strength to avoid burning the roots.
Step-by-Step Spring Feeding
Spring is the ideal time to fertilize, as the plant enters its active growth phase. Here’s a simple guide:
- Dilute the fertilizer to half strength.
- Water the plant lightly before applying to prevent root burn.
- Pour the solution evenly around the base, avoiding the leaves.
- Repeat once a month during the growing season.
Avoiding Overfertilizing
Overfertilizing can cause serious issues. Look for signs like a white salt crust on the soil or leaf burn. If you notice these symptoms, flush the soil with water to remove excess nutrients. Repotting with fresh soil is another effective solution.
I’ve found that using compost tea once a year works wonders. It’s a natural way to nourish the plant without risking overfertilization. By following these tips, you’ll keep your garden favorite healthy and vibrant for years to come.
Propagating Aloe Vera Plants

Expanding your collection of succulents is both rewarding and simple with the right techniques. One of the easiest ways to grow new plants is by propagating pups, the small offshoots that grow at the base of the mother plant. With a little patience and care, you can create a thriving garden in no time.
Removing and Planting Pups
To start, wait until the pups are about 1/5th the size of the mother plant. This ensures they’re mature enough to survive on their own. Use a sterilized knife to carefully cut the pup away, making sure to include some roots.
After removal, let the pup sit in a dry, shaded area for 1-2 days. This process, called callusing, helps prevent rot when planting. Once callused, place the pup in a well-draining potting mix. I recommend a blend of succulent soil and perlite for optimal drainage.
Timeline and Troubleshooting
It typically takes 3-4 months for the pup to establish itself and show significant growth. During this time, water sparingly to avoid overwatering. If the pup fails to thrive, check for root damage or improper soil conditions.
Here’s a quick checklist for successful propagation:
- Ensure pups are 1/5th the size of the mother plant before separating.
- Use a sterilized knife to avoid infection.
- Allow roots to callus before replanting.
- Choose a well-draining potting mix.
- Monitor growth and adjust care as needed.
By following these steps, you’ll find that propagating is a simple and effective way to grow your succulent collection. With a little practice, you’ll master the process and enjoy the rewards of new, healthy plants.
Common Aloe Vera Care Issues and Solutions
Keeping your plant healthy involves addressing common issues that can arise. From pests to root problems, knowing how to identify and solve these challenges ensures your plant thrives. Here’s a guide to help you navigate these care hurdles effectively.
Dealing with Pests
Pests like aphids and scale can harm your plant if left unchecked. These tiny invaders often hide under leaves or near the base. To treat them, I recommend using organic solutions like neem oil. Simply dilute it with water and spray it on affected areas.
For severe infestations, consider these steps:
- Remove visible pests with a soft cloth or cotton swab.
- Apply insecticidal soap to eliminate remaining bugs.
- Isolate the plant to prevent spreading to others.
Preventing Root Rot
Root rot is a serious issue caused by overwatering or poor drainage. If you notice mushy roots or a foul odor, act quickly. Remove the plant from its pot and trim away damaged roots. Let it dry for a day before repotting in fresh, well-draining soil.
To avoid this problem, follow these tips:
- Water only when the soil is completely dry.
- Use pots with drainage holes to prevent waterlogging.
- Choose a soil mix designed for succulents.
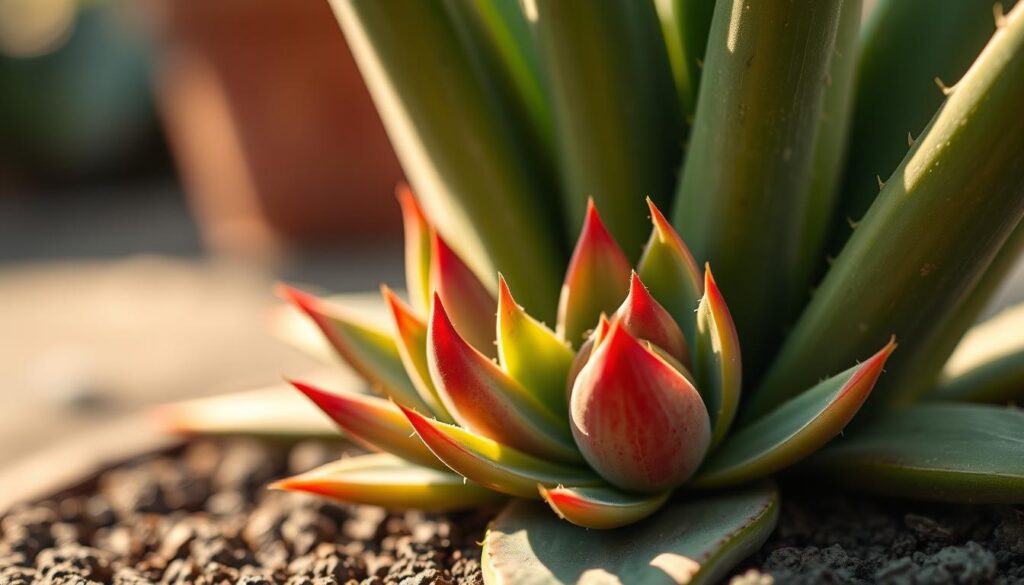
Environmental stressors like extreme temperatures can also cause red or brown leaves. Keep your plant in a stable environment, away from drafts or direct heat sources. By addressing these issues promptly, you’ll maintain a healthy and vibrant plant.
Conclusion
Caring for this resilient plant is simple when you follow a few key steps. Bright light, infrequent watering, and well-draining soil are the foundation of its health. With these basics, you’ll enjoy a thriving addition to your home for years.
Remember to harvest the gel responsibly. Always cut leaves from the bottom and allow the wound to heal before using it. This ensures the plant stays healthy and continues to grow.
If you’re ready to expand your collection, try propagating the pups. It’s a rewarding way to grow more plants and share them with friends. For personalized advice, feel free to leave a comment—I’m here to help!
For more tips on succulent care, check out our additional resources. Happy planting!
